Wednesday, September 16, 2026

Make a beanie in an hour!!!


There is nothing quite like the satisfaction of a quick, cozy crochet project when the cold weather sets in. If you are looking for a beautiful handmade gift or a quick stash-buster to prepare for the upcoming season, this one-hour puff stitch beanie is the perfect choice.
The texture of this hat is incredibly dense and plush, making it an excellent winter accessory that keeps you warm while looking effortlessly stylish. Best of all, it works up so quickly that you can easily finish a complete beanie over the course of a single movie or evening relaxation session.


Below, we dive into the design philosophy, essential material requirements, and foundational stitch math that makes this project come together so smoothly.

The star of this design is the puff stitch. Puff stitches are created by working multiple incomplete stitches into the same loop and closing them together with a single final yarn-over.

This technique traps air within the fabric, creating thick, raised "puffs" that are very textured.
While many traditional beanies are made using flat rectangles or simple double crochet variations, using a texture-heavy stitch like this elevates the entire project. It creates an ultra-thick fabric with high thermal efficiency, ensuring cold wind won’t blow through the gaps in your stitches.
Before reaching for your crochet hook, gathering the correct materials is essential to achieve the perfect size, drape, and texture for this beanie.
For this specific project, medium-weight acrylic yarn (Size 4 / Worsted) is highly recommended. Using a high-quality acrylic yarn, such as standard offerings from Loops & Threads, ensures the beanie remains incredibly durable, machine washable, and budget-friendly.
Acrylic fibres carry a natural springiness that helps the puff stitches hold their round, dimensional shape without flattening out over time. If you substitute this with a heavy wool blend or cotton, keep in mind that the drape will change, and the hat may turn out slightly heavier or more rigid.
A 5.0 mm (US H-8) or 5.5 mm (US I-9) crochet hook works beautifully with worsted-weight yarn for this design. When crocheting puff stitches, your tension is incredibly important. If you tend to crochet tightly, consider moving up half a hook size. This gives you enough wiggle room to pull your loops up comfortably without snagging your yarn on the final pull-through.
To complete your beanie smoothly, make sure you have the following tools nearby:
Tapestry Needle: Essential for weaving in your loose yarn tails securely and joining seams if you prefer flat construction.

Scissors: For cleanly cutting your yarn cake or skein at the finish.

Tape Measure: Essential for checking your crown diameter or total hat height as you progress.

Faux Fur Pom-Pom (Optional): Adding a removable pom-pom to the crown adds a perfect trendy finish to the top of the hat.

To master this project, you only need to be familiar with a few foundational crochet abbreviations. Understanding the underlying stitch multiples also allows you to adjust the size of the project if you ever wish to modify it down the road.

Ch (Chain): The foundational loop used to kick off your project.

Sl St (Slip Stitch): A utility stitch used to join rounds or secure edges.

Hdc (Half Double Crochet): The smooth base stitch that pairs perfectly alongside puff details.

Yo (Yarn Over): Wrapping the yarn around your hook before inserting it into a stitch.
Puff stitch:
Yarn over, and insert your hook into the designated stitch or space.
Yarn over again and pull up a long loop (ensuring it matches the height of a regular half double crochet). You now have 3 loops on your hook.
Repeat this process two or three more times into the exact same stitch space, pulling up a loop to the exact same height each time.
Once you have the required number of loops on your hook (typically 7 or 9 loops), yarn over one final time and carefully pull through all the loops on your hook.
Chain 1 immediately to lock the puff stitch securely into place.


If you are working this pattern in the round or building a foundation, the texture repeat operates on a straightforward mathematical rhythm (such as a multiple of 2 or 4 stitches). Knowing the repeat pattern gives you the flexibility to adapt the width of the project seamlessly without throwing off the alignment of your decorative details.

This very textured beanie is quick to make when you are following the instructions in the video below.



Saturday, September 12, 2026

A spiral crochet beanie


 When making cozy cold-weather accessories, texture is important. 
If you want to push your crochet skills beyond simple flat rows, building a spiral texture is a nicer way to add interest to your projects.
This crochet spiral beanie is a pretty, mindless project once you get past the initial setup. It features raised spiralling ridges that flow seamlessly from the crown all the way to the brim. Because it uses a clever no-seam design, you won't have an unsightly slip-stitch line trailing down the back of your finished hat.
Below, we cover the yarn details, the simple math behind top-down construction, and the specific stitch work needed to make those gorgeous ridges pop.
The right materials can make a massive difference when you are showing off intricate, three-dimensional stitch work.
The yarn for this specific project is from Red Heart Super Saver. I like the Red Heart Super Saver yarn because they are very economical and washable.  
I saw it on sale while browsing the Amazon website and knew it would be good for my projects. When you are crocheting projects with heavy textures, post stitches, or ridges, your choice of yarn colour can be important too.
The light colour chosen for this project works incredibly well with textured stitches. Darker tones like navy, deep forest green, or black absorb light, which can hide the beauty of your hard work. Light pastels, creams, or bright soft shades reflect light, making every single front post stitch stand out brilliantly.
For standard worsted-weight acrylic yarn, a 5.0 mm (US H-8) or 5.5 mm (US I-9) crochet hook works beautifully. When working post stitches, it is easy to accidentally pull your loops too tightly, which can make the hat stiff or smaller than intended. Keep a relaxed, even tension so your hook slides smoothly under the posts of the previous rows.
I originally set out to make a regular beanie, but I wanted to do something more exciting with the pattern. The top-to-bottom construction method of a beanie calls for some math, but don't you worry! It is much simpler than it sounds.
Understanding how circles expand in crochet is the easiest way to explain that method. The rule of thumb for flat circles is that every round needs to increase by the exact number of stitches you started with in your first round.
  • Round 1: Start with your foundational stitches (e.g., 10 or 12 stitches).
  • Round 2: Increase in every single stitch around. If you started with 12 dc, your second round will have exactly 24 stitches (12 times 2).
  • Round 3: Increase on every second stitch. If starting with 12 dc, your third round finishes with 36 stitches (12 times 3).
  • Round 4: Increase on every third stitch, and so on 
For this specific spiral beanie, I started with 10 double crochet in the first round. In the next round, I have to increase in every stitch to hit 20 stitches. In the 3rd round, I will be increasing on every second stitch to hit 30 stitches. In the fourth round, I will be increasing on every 3rd stitch, and so on. I found that this linear growth is an incredibly easy method for me to make beanies that fit perfectly every time. There are several crochet beanie size charts available on the internet to help you find the crown diameter to fit from babies to adults. 

Creating the Spiral: Front Post Stitches
The real texture happens when you modify your increases. Instead of making standard increases and regular flat stitches, I used post stitches that clustered the increases together. This creates the twisting spiral effect.
We achieve this texture by using front post double crochet (fpdc) stitches. If you have never worked around a stitch post before, it is an easy technique to learn:
  1. Yarn over your hook just like a standard double crochet.
  2. Instead of inserting your hook into the top two loops of the stitch below, insert your hook from the back of the stitch you are working to the front, wrapping it horizontally around the vertical "post" of the stitch.
  3. Yarn over and bring up a loop.
  4. Yarn over and pull through two loops, then yarn over and pull through the final two loops to finish your double crochet.
  5. This movement pushes the stitch you are using as the post to the front a bit. That creates a gorgeous, raised texture that spirals beautifully around the body of the hat. I absolutely love the final result, and I think you will too!
    I embedded the video below to help you. 
    Happy crocheting!!!


Pivoting the blog direction

It is 2026. Actually, it is going to end soon

I am changing too. 

After a mastectomy in 2023, I am not interested in discussing dental assisting.

It may be a personal change issue.

Now, I spend more time crocheting.

It was fun before. It is still fun. 

Selling on Etsy was an option. Soon, I got bored. 

So decided to record videos of my patterns. I am more interested in doing small projects. Making blankets is not for me. 

Smaller projects finish up quickly. A small amount of yarn can finish a project.

So, I am pivoting to talk about crochet. 

Life in


Toronto is still good. 

Saturday, January 11, 2025

Dental Loupes for Dental assistants


I was seeing dental assistants wearing loupes on Instagram. 

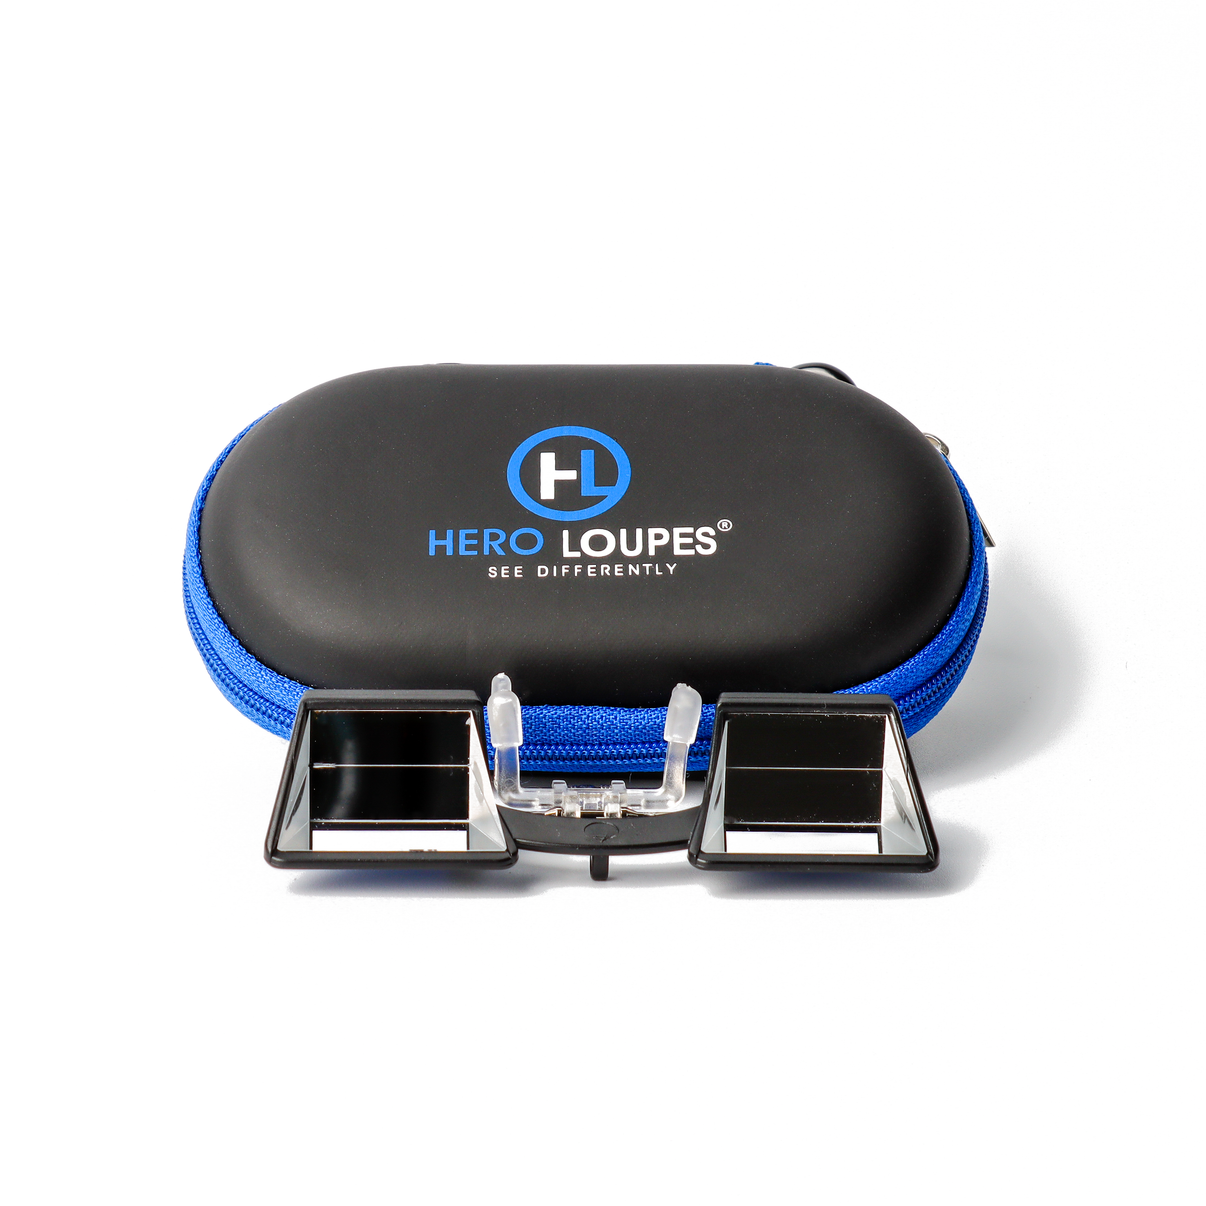
A quick search came up with this product called "Hero Loupes" 

They have something called "Sidekick"., which is the lowest price one. This can be clipped onto the safety glasses. Price is $293 Canadian. 

Looks very nice. But I am not sure about the weight. 
Will it be good for people who have prescription glasses? Not sure. I think, since it is clip-on, it can be clipped on to the prescription safety glasses without trouble. 
This can be a life changer for full time dental assistants. 


ToothTalkings

Wednesday, May 17, 2023

Dentist lost licence

I saw this news: The Barrie dentist, Dr. Chapnick lost his licence. The reason stated was that he sexually abused a patient.

He was asked to pay $10,000 to the Royal College of dental surgeons. a quick search showed me he owned two practices in Ontario. But, the offices are not taking any patients for Dr. Chapnick now. 

My heart goes to all those people who worked for him.  Here, even though the doctor is the culprit, the staff also bear the shame. 

Why do things like this happen in dental offices? How the dentist got the chance to abuse a patient? 

It is not easy to get licensed to be a dentist. How many foreign dentists are appearing for the licensing exam and failing each year? Think of the money they have to spend to appear for the exam! 

I just wish dentists think of all those things before writing a prescription and before giving a treatment. 

The shame of malpractice is not only on the dentists, but the family, friends and the staff has to suffer it too. 

It is a sad situation that a dentist or any healthcare provider becomes an abuser. 


Can they get help to stop abusing other people? 

Are there more victims?

So many unanswered questions...


ToothTalkings

Tuesday, May 16, 2023

Electric tooth brush


Electric toothbrushes are in style. 

How to use a Sonicare one?

It rotates. So, you just hold it gently against your teeth. No force at all. 

Let the brush do the work for you.

Move from tooth to tooth and allow the brush to work on all surfaces. 

Sonicare has a timer setting. So you will be sure you are not brushing faster. 

My Sonicare even let e know when to change the brush head.

isn't it nice?


ToothTalkings

Friday, May 14, 2021

Patient's demands

It is not always a great workday at the office.

Most patients don't like to be on a dental chair for restorative work. 

This week, I got an unpleasant patient. He was not interested in having a conversation with me. 


He was talking nicely to the dentist. After giving the anaesthetic, the doctor left the room asking me to place the rubber dam. 

He was making my job very difficult by closing the mouth. To make me miserable, the dam tore when I was stretching it over his teeth. 

When I try to place a new sheet, he snapped " you call the dentist". I went to the dentist and told her "I can't place it". then the doctor came and done that. 

He was very cooperative with the dentist.  

I wanted to blame this as the patient not being comfortable in a dental office setting. I wanted to blame dental phobia. I wanted to blame myself for tearing the dental dam.....

I wanted to overcome the bad feelings and let them go too.


ToothTalkings